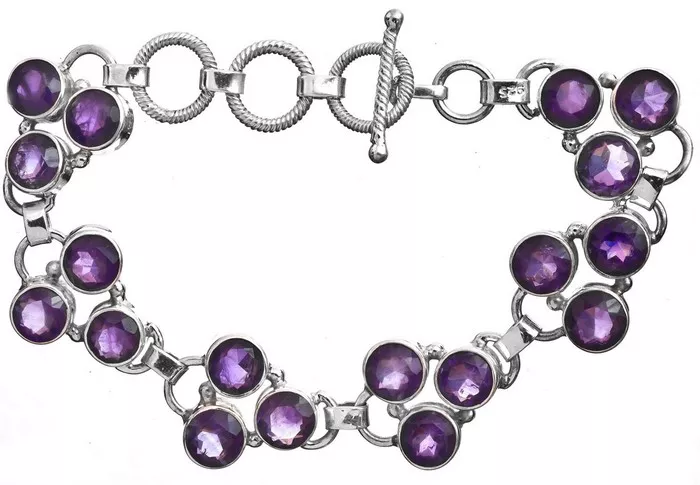
Creating a diamond pattern bracelet is a rewarding jewelry-making project that combines creativity with craftsmanship. Whether you’re a novice or experienced in jewelry making, designing and crafting a bracelet with a diamond pattern allows you to personalize your accessories and showcase your skills. This article provides a comprehensive guide on how to make a diamond pattern bracelet, covering materials, techniques, step-by-step instructions, and tips for achieving a professional finish.
Materials Needed
Before starting your project, gather the following materials:
Beads: Choose beads of your choice for the diamond pattern. You can use seed beads, crystal beads, gemstone beads, or any other beads that fit your design preference.
Thread or Cord: Select a strong and flexible thread or cord suitable for beading. Nylon thread, beading thread, or jewelry wire are commonly used options.
Clasp: Choose a clasp that complements your bracelet design. Lobster clasps, toggle clasps, or magnetic clasps are popular choices.
Needle: Use a beading needle that fits through the holes of your chosen beads.
Scissors: Sharp scissors for cutting thread or cord.
Bead Mat: A bead mat or tray to keep your beads organized and prevent them from rolling away.
Measuring Tape or Ruler: For measuring the desired bracelet length.
Clasp Attachments: Jump rings and crimp beads (optional) for attaching the clasp securely.
Step-by-Step Instructions
Follow these steps to create a diamond pattern bracelet:
1. Design Planning
Choose Your Pattern: Decide on the diamond pattern you want to create. You can sketch it out or visualize it beforehand to guide your bead selection and layout.
Select Beads: Arrange your beads in the desired pattern sequence. Consider color combinations, sizes, and textures to achieve the look you envision.
2. Prepare the Thread
Cut the Thread: Measure and cut a comfortable length of thread or cord for your bracelet project. Leave extra length for tying knots and attaching the clasp.
Thread the Needle: Thread one end of the thread through the beading needle. Tie a knot at the end to secure the thread.
3. Begin Beading
Start the First Row: Pick up beads according to your chosen pattern. Begin with the first row of beads by threading them onto the needle and positioning them in the desired sequence.
Create the Diamond Pattern: Follow your pattern design to create the diamond shapes. Typically, diamond patterns involve alternating rows of beads to form the diamond shapes.
See Also: What Does a Best Friend Diamond Bracelet Symbolize?
4. Weaving Technique
Use Peyote Stitch (Optional): Peyote stitch is a popular bead weaving technique suitable for creating intricate patterns. Alternate between adding beads in a staggered pattern to create the diamond shape.
Brick Stitch (Alternative): Another technique is brick stitch, where beads are stacked in rows resembling bricks. Adjust the number of beads per row to achieve the diamond pattern.
5. Adding Rows
Continue Adding Rows: Build upon the first row by adding subsequent rows of beads. Ensure each row aligns with your pattern and maintains the diamond shape formation.
Check Tension: Keep the tension consistent as you add rows to prevent loose or uneven sections. This ensures a neat and uniform appearance.
6. Finishing the Bracelet
Measure Length: Periodically measure the bracelet against your wrist to gauge the desired length. Adjust the number of rows accordingly.
Attach the Clasp: Once the bracelet reaches the desired length, finish by attaching the chosen clasp. Use jump rings and crimp beads if necessary for a secure closure.
Secure Ends: Secure the thread by weaving it back through several rows of beads. Tie knots and trim excess thread carefully to ensure a tidy finish.
7. Final Touches
Inspect and Adjust: Inspect the bracelet for any loose beads or imperfections. Make final adjustments to ensure the bracelet lays flat and conforms to your wrist comfortably.
Add Embellishments (Optional): Embellish the bracelet with additional beads, charms, or findings to personalize the design further.
Tips for Success
Organize Your Workspace: Keep beads, tools, and supplies organized to streamline the crafting process and prevent distractions.
Practice Consistency: Maintain consistent tension and bead placement throughout to achieve a professional-looking bracelet.
Experiment with Patterns: Don’t hesitate to experiment with different bead colors, sizes, and patterns to create unique variations of the diamond pattern bracelet.
Take Breaks: Jewelry making requires focus and patience. Take breaks as needed to rest your eyes and hands during the beading process.
Conclusion
Designing and crafting a diamond pattern bracelet allows you to explore your creativity while mastering essential jewelry-making techniques. Whether you prefer classic elegance or contemporary flair, the versatility of bead choices and weaving techniques enables endless design possibilities. By following this comprehensive guide and incorporating your personal style, you can create a stunning diamond pattern bracelet that reflects your artistic vision and showcases your craftsmanship. Embrace the journey of jewelry making as you transform beads and thread into a wearable work of art that will adorn your wrist with beauty and charm.

