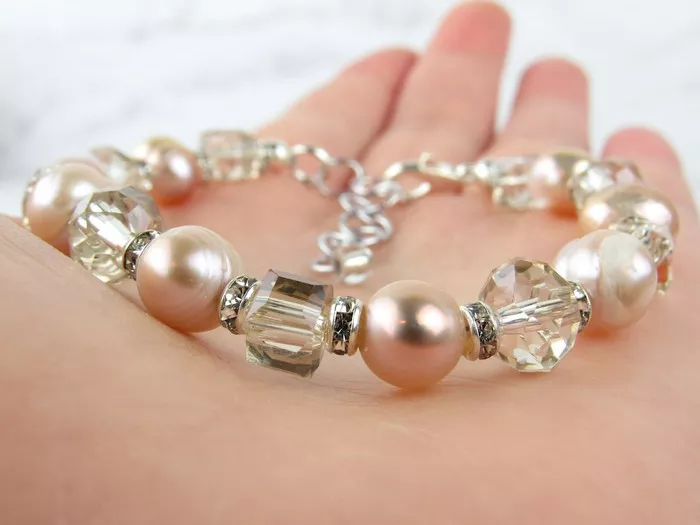
Sapphires have long captivated jewelry enthusiasts with their deep blue hues and remarkable durability. Crafting a sapphire bracelet allows artisans to showcase these precious gemstones in a wearable piece of art that exudes elegance and sophistication. Whether you’re a seasoned jeweler or a passionate hobbyist, this comprehensive guide will walk you through the step-by-step process of creating your own stunning sapphire bracelet.
Introduction to Sapphire Bracelets
Sapphire bracelets are timeless accessories that can elevate any outfit from casual to chic. The allure of sapphires lies not only in their striking color but also in their versatility. From delicate tennis bracelets to bold statement pieces, sapphire bracelets come in various styles to suit different tastes and occasions.
Step 1: Planning Your Design
Before diving into the crafting process, it’s essential to have a clear vision of your bracelet design. Consider the following aspects:
Gemstone Selection: Sapphires come in various shades ranging from classic blue to vibrant pink and even rare fancy colors like orange and green. Choose sapphires that complement each other in color and clarity for a cohesive look.
Bracelet Style: Decide on the bracelet style that best fits your design aesthetic and desired level of intricacy. Common styles include tennis bracelets, charm bracelets, and bangle bracelets.
Materials and Tools: Make a list of materials and tools you’ll need for the project. This typically includes sapphires, metal findings (such as clasps and jump rings), jewelry wire or thread, and basic jewelry-making tools like pliers, wire cutters, and a bead reamer.
Step 2: Gathering Materials and Tools
Once you’ve finalized your design, gather all the necessary materials and tools. It’s crucial to source high-quality sapphires and other components to ensure the durability and aesthetic appeal of your bracelet. Consider purchasing from reputable suppliers known for their gemstone quality and customer service.
Step 3: Preparing the Workspace
Create a designated workspace that is clean, well-lit, and organized. Jewelry making requires attention to detail, so ensure you have enough space to lay out your materials and work comfortably. Invest in a jewelry-making workstation or use a sturdy table with good lighting and ample storage for your tools.
Step 4: Designing the Bracelet
A. Creating a Blueprint
Before starting the assembly process, sketch out a blueprint of your bracelet design. Include measurements, gemstone placement, and details of the clasp or closure mechanism. This blueprint will serve as your guide throughout the crafting process, ensuring precision and alignment.
B. Setting the Sapphires
Setting sapphires requires careful attention to detail to ensure they are securely held in place while allowing light to enhance their brilliance. Depending on your design, you may choose settings such as prong, bezel, or channel settings. Each setting technique requires specific tools and skills to execute effectively.
See Also: Should I Give My Crush a Bracelet?
Step 5: Assembling the Bracelet
A. Stringing Techniques
If your bracelet design involves stringing sapphires with beads or other components, mastering stringing techniques is essential. Use high-quality jewelry wire or thread that complements your design and ensures durability. Practice techniques such as knotting between beads and using crimps to secure the ends of the wire.
B. Metalwork and Clasps
Creating metal components such as clasps and connectors requires basic metalworking skills. Use jewelry pliers and wire cutters to shape and assemble metal findings that complement your bracelet design. Pay attention to detail when soldering or using jump rings to ensure a seamless finish.
Step 6: Finishing Touches
A. Polishing and Cleaning
Once your bracelet is assembled, polish the metal components and clean the sapphires to enhance their shine and clarity. Use a jewelry polishing cloth or a mild jewelry cleaner to remove any residues and fingerprints from the surface of the bracelet.
B. Quality Assurance
Inspect the bracelet for any loose gemstones, uneven settings, or imperfections. Make necessary adjustments to ensure the bracelet meets your quality standards and is ready for wear.
Step 7: Presentation and Care Instructions
A. Packaging
Present your handmade sapphire bracelet in an elegant jewelry box or pouch. Include a certificate of authenticity if applicable, detailing the materials used and care instructions for the bracelet.
B. Care Instructions
Provide care instructions to the wearer to ensure the longevity of the bracelet. Advise on how to clean and store the bracelet properly to prevent damage to the sapphires and metal components.
Conclusion
Crafting a sapphire bracelet is a rewarding endeavor that allows you to create a unique piece of jewelry infused with your creativity and craftsmanship. Whether you’re making the bracelet for yourself or as a gift for someone special, the process of designing, assembling, and finishing a sapphire bracelet requires patience, attention to detail, and a passion for jewelry making. With this guide, you’re equipped with the knowledge and skills to embark on your journey of crafting elegance through a sapphire bracelet.
By following these steps and honing your jewelry-making skills, you can create sapphire bracelets that not only showcase the beauty of sapphires but also reflect your personal style and creativity. Enjoy the process of bringing your design to life and wearing or gifting a stunning sapphire bracelet that embodies timeless elegance and craftsmanship.

