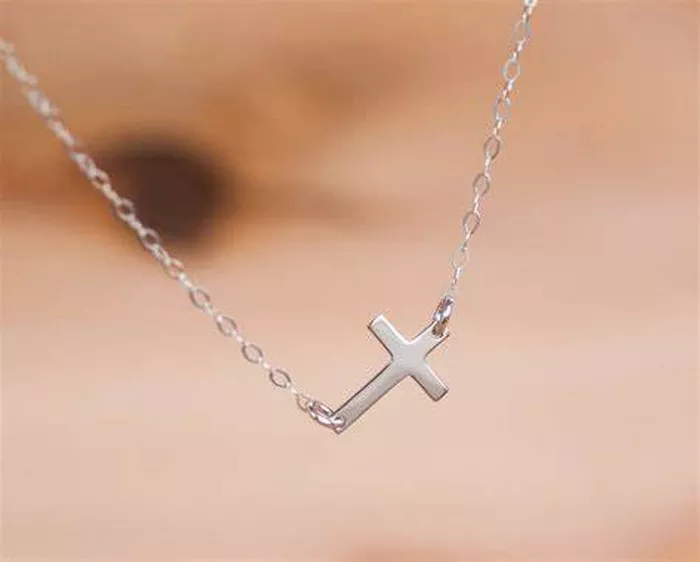
Creating a beaded cross necklace is a beautiful and rewarding jewelry project that combines creativity with craftsmanship. Whether you’re a beginner or a seasoned beader, this guide will walk you through the materials, design planning, and step-by-step instructions to craft your very own unique beaded cross necklace.
Materials Needed
Before you start, gather the following materials:
Beads
Seed Beads: Small, uniform beads that work well for detailed designs.
Crystal Beads: Adds sparkle and elegance to the design.
Gemstone Beads: Provides a natural, earthy vibe and unique texture.
Size & Color: Choose beads that fit your design preferences. For example, 4mm to 8mm seed beads are ideal for a delicate cross, while larger beads may be used for bold accents. Color combinations can vary depending on your theme; consider using contrasting colors like gold and turquoise or a monochromatic scheme such as silver and clear crystals.
Wire or Thread
Beading Wire: Strong, flexible wire, typically 0.018-0.024 inches in diameter, is great for creating sturdy necklaces.
Nylon Thread: Ideal for threading beads, especially if you prefer knotting between beads.
Needle
Beading Needle: A fine needle, preferably with a thin eye, is essential for threading small beads and achieving a clean design.
Clasp and Findings
Lobster Clasp: Secure and easy to use for fastening the necklace.
Jump Rings: Small rings that connect the clasp to the necklace chain.
Crimp Beads: Used to secure the wire ends and clasp in place.
Tools
Wire Cutters: For cutting beading wire to the desired length.
Pliers: Used to attach findings and clasp securely.
Bead Mat: Keeps beads organized and prevents them from rolling away during the process.
Design and Planning
Before you begin stringing beads, it’s important to plan the design carefully.
Cross Pattern
The cross shape will consist of five sections: a vertical bar (the center) and two horizontal bars (the arms). Each bar will be made from multiple beads, and the key is to ensure symmetry.
Example Layout:
- Vertical Bar: 5 beads
- Horizontal Bar (each side): 3 beads
Start with the vertical center and then add the horizontal arms at a 90-degree angle. This will give your cross a balanced and neat appearance.
Necklace Length
Determine the desired length of the necklace. A standard length for a pendant necklace is 16–18 inches. Measure the necklace’s length before adding the clasp, making adjustments to the bead count if necessary.
Color Scheme
Consider pairing contrasting colors for a vibrant design, such as ruby-red crystals and gold seed beads, or opt for a serene and classic look using clear quartz beads and sterling silver. Be mindful of the bead sizes to maintain a harmonious design.
Step-by-Step Instructions
Now that you have your materials and a design plan, it’s time to begin creating the beaded cross necklace.
Creating the Cross
Starting the Base: Thread your needle with a length of beading wire or thread (about 24 inches). Start by threading the first bead to form the center of the cross. This will be the bead that connects the vertical and horizontal bars.
Building the Arms: For the vertical bar, string five beads (or more, depending on your design) onto the wire. After adding the fifth bead, make a small loop with the wire to secure it.
For each horizontal arm, string three beads onto the wire, then thread the wire through the central bead again to form a 90-degree angle.
Securing the Arms: Once the horizontal bars are attached to the central bead, continue stringing the beads for the remaining arms, ensuring that they align symmetrically. You may need to reinforce the connections by passing the wire through the beads multiple times to ensure stability.
Finishing the Cross
Ensure the cross is symmetrical by adjusting the bead placement as needed. Once satisfied with the shape, secure the ends of the wire using a crimp bead and crimping pliers, or knot the thread securely.
Attaching the Cross to the Necklace
Thread the beaded cross onto the necklace wire or string. If you’re using a beading wire, ensure that the cross is positioned properly in the center. If you’re using nylon thread, make sure the thread is tightly knotted to avoid any slipping.
Adding the Clasp
To complete the necklace, use crimp beads and pliers to attach the lobster clasp to one end of the wire. On the other end, use jump rings to connect the clasp and ensure it’s secure.
Tips and Tricks
Bead Selection
Choose beads that work well together in terms of size, color, and texture. Don’t hesitate to mix materials like glass, wood, and gemstone beads for a unique effect.
Tension Control
Be sure to maintain consistent tension while stringing the beads. Too tight of a string may result in beads that look uneven or warped, while too loose a string may lead to gaps between the beads.
Finishing Touches
For added elegance, consider adding a decorative bead near the clasp or using bead caps to finish off the ends of the necklace for a polished look.
Customer Reviews and Testimonials
User Experiences
“I made my first beaded cross necklace using this guide, and I couldn’t be happier with how it turned out! The step-by-step instructions were easy to follow, and I loved being able to customize the color scheme.” – Emily W.
Expert Opinions
“As a jewelry designer, I always encourage beginners to start with a simple design like the beaded cross necklace. It’s easy to learn, but it provides plenty of room for creativity with bead selection and color combinations.” – Sarah M., Professional Jewelry Designer.
Conclusion
Making a beaded cross necklace is a fulfilling project that allows you to express your creativity while crafting a meaningful and beautiful piece of jewelry. With the right materials, planning, and attention to detail, you can create a stunning necklace to wear yourself or give as a thoughtful gift.
Related topics:

