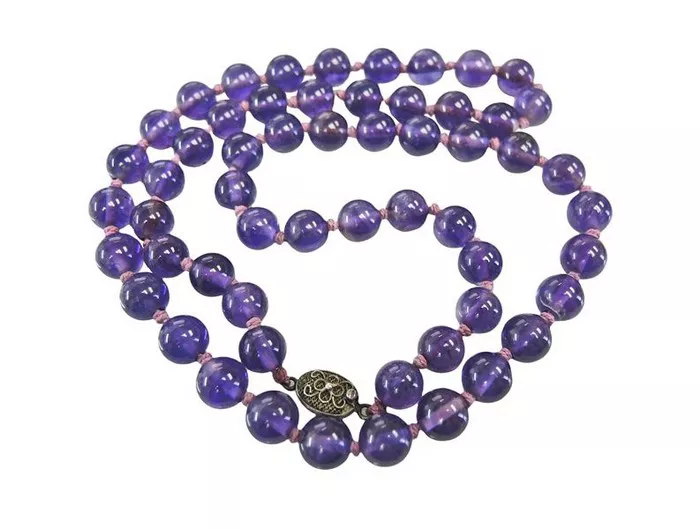
Amethyst, with its regal purple hue, has long been cherished as a symbol of clarity, intuition, and inner peace. Crafting your own amethyst necklace not only allows you to express your creativity but also lets you imbue the piece with your intentions and energy. Whether you’re a novice or a seasoned jewelry maker, this comprehensive guide will take you through the process of making a beautiful amethyst necklace from start to finish.
1. Gathering Your Materials
Before you begin crafting your amethyst necklace, it’s essential to gather all the necessary materials. Here’s what you’ll need:
Amethyst beads: Select beads of your preferred size and shape. Amethyst beads come in various forms, including rounds, chips, and nuggets.
Jewelry wire: Choose a wire that complements the color of your amethyst beads. Silver, gold, or copper wire are popular choices.
Clasps and jump rings: These components will be used to fasten the ends of your necklace securely.
Crimp beads: These tiny beads will help secure the ends of the wire.
Pliers: Round-nose pliers, flat-nose pliers, and wire cutters are essential tools for jewelry making.
Optional embellishments: Consider adding additional beads, charms, or pendants to customize your necklace.
2. Designing Your Necklace
Once you have your materials assembled, it’s time to plan the design of your amethyst necklace. Consider the length of the necklace, the arrangement of the beads, and any additional embellishments you’d like to incorporate. Sketching out your design on paper can help you visualize the final product before you begin assembling it.
3. Stringing the Beads
Begin by cutting a length of jewelry wire slightly longer than the desired length of your necklace, taking into account the additional length needed for attaching the clasp. Use your round-nose pliers to form a small loop at one end of the wire, which will prevent the beads from sliding off.
Next, string your amethyst beads onto the wire in the desired pattern. Experiment with different arrangements until you’re satisfied with the design. You can intersperse the amethyst beads with spacer beads or other accent beads for added visual interest.
Once all the beads are strung onto the wire, use your round-nose pliers to form another loop at the opposite end of the wire. This loop will serve as the attachment point for the clasp.
4. Adding the Clasp
To attach the clasp to your necklace, use jump rings to connect the loops you created at each end of the wire to the clasps. Use your flat-nose pliers to gently open and close the jump rings, ensuring a secure connection.
Once the clasp is attached, test the necklace to make sure it fastens securely and hangs evenly. Make any necessary adjustments to the length or arrangement of the beads.
5. Finishing Touches
To secure the ends of the wire and prevent the beads from sliding off, use crimp beads. Simply thread a crimp bead onto the wire, then pass the wire through the loop of the clasp and back through the crimp bead. Use your flat-nose pliers to flatten the crimp bead securely against the wire, then trim any excess wire with wire cutters.
Finally, give your amethyst necklace a thorough inspection, checking for any loose beads or weak connections. Make any final adjustments as needed to ensure that your necklace is both beautiful and durable.
6. Cleansing and Charging Your Necklace
Before wearing your newly crafted amethyst necklace, consider cleansing and charging it to enhance its energetic properties. You can cleanse the necklace by placing it in a bowl of salt water or smudging it with sage smoke. To charge the necklace with your intentions, hold it in your hands and visualize your goals and desires flowing into the amethyst beads.
7. Enjoying Your Creation
Congratulations! You’ve successfully crafted your own amethyst necklace from start to finish. Wear your necklace with pride, knowing that it’s a reflection of your creativity and energy. Whether you wear it as a fashion statement or as a tool for spiritual growth, may your amethyst necklace bring you joy and inspiration for years to come.
FAQs
Where can I find the materials needed to make an amethyst necklace?
You can purchase amethyst beads, jewelry wire, clasps, and other supplies from craft stores, bead shops, or online retailers. Be sure to choose high-quality materials that will enhance the beauty and durability of your necklace.
How long does it take to make an amethyst necklace?
The time it takes to make an amethyst necklace can vary depending on the complexity of the design and your level of experience. Generally, you can expect to spend anywhere from 30 minutes to a few hours completing a necklace from start to finish.
Can I add other gemstones or beads to my amethyst necklace?
Absolutely! Adding other gemstones or beads can add visual interest and complement the natural beauty of the amethyst beads. Experiment with different combinations to create a necklace that reflects your personal style and preferences.
How do I care for my amethyst necklace?
To keep your amethyst necklace looking its best, avoid exposing it to harsh chemicals, perfumes, or excessive moisture. Store it in a jewelry box or pouch when not in use to prevent tangling or scratching. You can also gently clean the necklace with a soft cloth to remove any dirt or residue.

