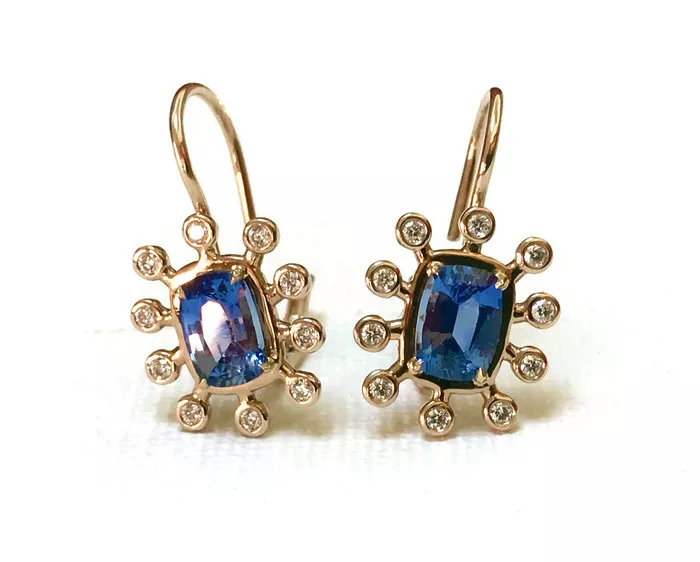
Diamond studs are prized for their timeless elegance and dazzling sparkle. To keep them looking their best, regular cleaning and maintenance are essential. This comprehensive guide provides detailed instructions and tips on how to clean diamond studs effectively, ensuring they maintain their brilliance and beauty for years to come.
Understanding Diamond Stud Earrings
Diamond stud earrings consist of two primary components: the diamond itself and the metal setting. Proper cleaning involves attention to both elements to preserve the overall appearance and sparkle of the earrings.
Components of Diamond Stud Earrings
Diamonds: Diamonds are naturally durable but can attract dirt, oil, and debris over time, which can dull their brilliance if not cleaned regularly.
Metal Settings: The setting of diamond studs is typically made of precious metals such as gold, platinum, or silver. Cleaning the metal settings helps maintain the overall integrity and shine of the earrings.
Why Cleaning Diamond Studs is Important
Regular cleaning of diamond studs serves several purposes:
Preserves Brilliance: Cleaning removes dirt, oils, and residues that can accumulate on diamonds and diminish their sparkle.
Prevents Damage: Proper maintenance prevents buildup that can potentially damage the setting or loosen the diamonds over time.
Maintains Appearance: Regular cleaning ensures that diamond studs retain their pristine appearance, enhancing their beauty and longevity.
Tools and Materials Needed for Cleaning
Before starting the cleaning process, gather the following materials:
Soft Brush: A soft-bristled brush, such as a toothbrush or a dedicated jewelry cleaning brush, is gentle enough to clean diamonds and settings without scratching.
Mild Dish Soap: Use a mild dish soap or a specialized jewelry cleaning solution. Avoid harsh chemicals or abrasive cleaners that can damage diamonds or metal settings.
Lint-Free Cloth: A lint-free cloth, such as a microfiber cloth or a jewelry polishing cloth, is ideal for drying and polishing diamond studs.
Warm Water: Use lukewarm water for cleaning to help loosen dirt and grime without causing thermal shock to the diamonds or metal.
Optional: Ultrasonic Cleaner: For deep cleaning, consider using an ultrasonic jewelry cleaner, but ensure it is suitable for diamonds and follow manufacturer instructions carefully.
See Also: 20 Best Diamond Stud Earrings in 2024
Step-by-Step Guide to Cleaning Diamond Studs
Follow these steps to clean diamond studs effectively and safely:
Step 1: Prepare Cleaning Solution
Prepare a cleaning solution by mixing lukewarm water with a small amount of mild dish soap or jewelry cleaning solution. Avoid using hot water, as sudden temperature changes can stress diamonds and metals.
Step 2: Soak the Diamond Studs
Place the diamond studs in the cleaning solution and let them soak for 15-20 minutes. This soaking helps to loosen dirt, oils, and debris stuck in and around the diamonds and settings.
Step 3: Clean with a Soft Brush
After soaking, use a soft-bristled brush to gently scrub the diamonds and metal settings. Pay attention to areas where dirt may be trapped, such as around prongs or behind the diamond.
Brush Technique: Use light pressure and gentle circular motions to clean. Be cautious around the setting to avoid dislodging the diamonds or scratching the metal.
Step 4: Rinse Thoroughly
After scrubbing, rinse the diamond studs thoroughly under lukewarm running water to remove all traces of the cleaning solution and loosened dirt. Ensure that no soap residue remains.
Step 5: Dry with a Lint-Free Cloth
Gently pat the diamond studs dry with a clean, lint-free cloth. Avoid rubbing, as this can cause lint or fibers to stick to the earrings. Use the cloth to blot away moisture and polish the diamonds and metal settings.
Step 6: Optional – Use an Ultrasonic Cleaner (if applicable)
If you have an ultrasonic cleaner designed for jewelry, follow the manufacturer’s instructions carefully. Ultrasonic cleaners use vibrations to remove stubborn dirt and debris from hard-to-reach areas of the diamond studs. Ensure the cleaner is suitable for diamonds and that the studs are securely placed in the cleaning basket.
Step 7: Final Inspection and Storage
After cleaning, inspect the diamond studs to ensure they are sparkling clean and free of residue. Check the settings to ensure the diamonds are secure. Store the diamond studs in a clean, dry jewelry box or pouch to prevent dust and dirt from accumulating.
Additional Tips for Maintaining Diamond Studs
Regular Maintenance
Frequency: Clean diamond studs regularly, ideally every few weeks, to prevent dirt buildup and maintain their brilliance.
Avoid Chemicals: Remove diamond studs before applying cosmetics, hairspray, or perfumes to avoid exposure to chemicals that can dull the diamonds or tarnish the metal settings.
Professional Cleaning: Periodically have diamond studs professionally cleaned and inspected by a jeweler to ensure they are in optimal condition.
Storage
Separate Storage: Store diamond studs separately from other jewelry to prevent scratching and damage. Use individual compartments in a jewelry box or pouch to keep them safe.
Avoid Moisture: Store diamond studs in a dry environment away from moisture, which can tarnish metal settings and affect the diamonds’ appearance.
Handling
Handle with Care: When handling diamond studs, avoid touching the diamonds directly with fingers, as oils from the skin can leave residues. Hold the earrings by the metal parts or use soft gloves.
Routine Inspection
Check Settings: Regularly inspect the settings and prongs to ensure they are secure and that diamonds are not loose. Loose stones should be addressed promptly by a professional jeweler.
Conclusion
Proper cleaning and maintenance are essential to preserving the brilliance and beauty of diamond studs. By following these steps and tips, you can ensure that your diamond studs continue to sparkle and shine, maintaining their allure and value over time. Regular care not only enhances their appearance but also prolongs their lifespan, allowing you to enjoy wearing your diamond studs for years to come with confidence in their pristine condition.

